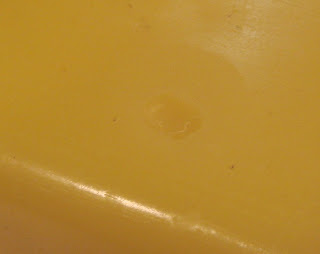
As I expected, the first try didn't come out perfectly. The block is pretty and didn't crack. But I used a nonstick brownie pan and the block shows every scratch in the pan's surface
 . The good news is that the block came out easily (I had wiped the surface of the pan with slightly diluted Joy on a paper towel.
Lesson one: Buy a brand new pan to use for this so the scratches don't show on the block
There are flaws on the block - white marks that I don't know how to analyze. Maybe those are places where the wax cooled too quickly - not uniformly with the rest of the block. I had hot water around the sides of the pan when I poured the wax in, but added more hot water to the bath after I poured the wax.
Lesson two: Make sure the hot water is as high as I want it before I pour the wax.
There's an unexplained divit in the wax. (See the last picture). I saw it as the block started to cool but didn't know it would be a divit. All I can think is that the divit has to do with the soapy wipe. Perhaps there was too much soap there.
Lesson three: Next time try greasing the pan rather than soaping it to see if that makes a difference.
And although I had filtered this wax through a paper towel in the solar wax melter, I think it needed filtering again because there are some tiny brown flecks on the bottom of the block (which would take away from its quality).


No comments:
Post a Comment